Everything you need to run a helpful AI assistant.
From your first workspace to a branded, staffed and API-connected assistant. Each guide explains the setting, the decision behind it and what happens next.
Welcome
A single place for an assistant, its knowledge and the people behind it.
Corthex lets a team create an AI assistant that answers from approved knowledge, appears on a website, and can hand a conversation to a person at the moment it matters. Your workspace keeps bots, sources, conversations, contacts, leads, integrations and billing together.
Build
Set a role, tone, model and source of truth for each assistant.
Help
Answer visitors in a branded widget and record the whole conversation.
Take over
Let staff pick up, reply and safely resume AI support.
First 15 minutes
Create and launch your first assistant.
Follow this sequence once. The individual guides below explain every choice in more depth.
- Create your account and workspaceRegister through Sign up. If you have multiple organisations, choose the right one from the workspace switcher before creating a bot.
- Create a botOpen Bots, give it a clear internal name and choose the model that matches your speed and quality requirement.
- Add knowledgeOpen the bot’s Knowledge area and upload an FAQ, policies or product information. Wait for the source to show as ready.
- Test representative questionsUse the bot chat and Prompt tests with questions your visitors actually ask. Fix gaps in the source material or instructions before publishing.
- Brand and embedSet display name, language and colours in Appearance, then copy the widget snippet into the page where visitors should find it.
Access
Set up the workspace your team will share.
Every bot and resource belongs to an organisation workspace. This keeps teams and customer data separated when a person is part of more than one organisation.
- Register or sign inUse the public Sign up or Sign in action. Corthex uses Clerk for authentication; your email and organisation access are managed there.
- Choose the organisationUse the workspace switcher in the application header. Check this first whenever a bot or conversation seems missing.
- Invite the right peopleGo to Settings → Members to manage the people who should have access. Staff who answer visitors also need to complete their staff profile.
- Set your preferencesSettings contains your account details, workspace language and connections. The widget language is configured per bot in Appearance.
Build
Create a bot that knows its job and its limits.
A bot has an internal name, instructions, a model and optional tools. Start with a narrow role such as “returns support for NL web store” instead of a broad “company assistant”. Narrow scopes produce easier-to-test and more reliable answers.
- Name the botUse a name your team recognises. The public display name is configured independently under Appearance.
- Write the operating instructionsExplain who the bot is, what it may do, how it should respond when knowledge is missing and when it should offer a person. Keep factual policies in Knowledge instead of repeating them in instructions.
- Select tools intentionallyAvailable options can include site lookup, commerce actions and staff handoff. Turn on only workflows you have tested; experimental controls can change visitor and Staff Console behaviour.
- Set handoff rulesCreate conditions based on detected intent, sentiment, keywords, message length or office hours. Decide whether to show a staff CTA or open the contact form immediately, and choose normal, high or urgent priority.
- Activate when readyAn inactive bot remains unavailable to public and developer chat requests until you enable it.
Model routing
Choose a model by the outcome you need, not the brand name.
Each bot uses one selected model. Corthex shows the available model choices and their estimated credit cost in the bot editor. Final credit usage reflects actual input and output usage, so longer conversations cost more than the listed short-message base.
| Priority | Choose for | Trade-off |
|---|---|---|
| Fast answers | High-volume support and short factual questions | Lower latency, less room for complex reasoning |
| Balanced | Most RAG support workflows | A pragmatic quality and cost balance |
| Deep reasoning | Nuanced policy, technical or multi-step questions | Higher latency and credit use |
Test the exact same prompt set after switching models. Compare correctness, source use, tone and response time—not only whether the reply sounds fluent.
Grounding
Give the assistant a reliable source of truth.
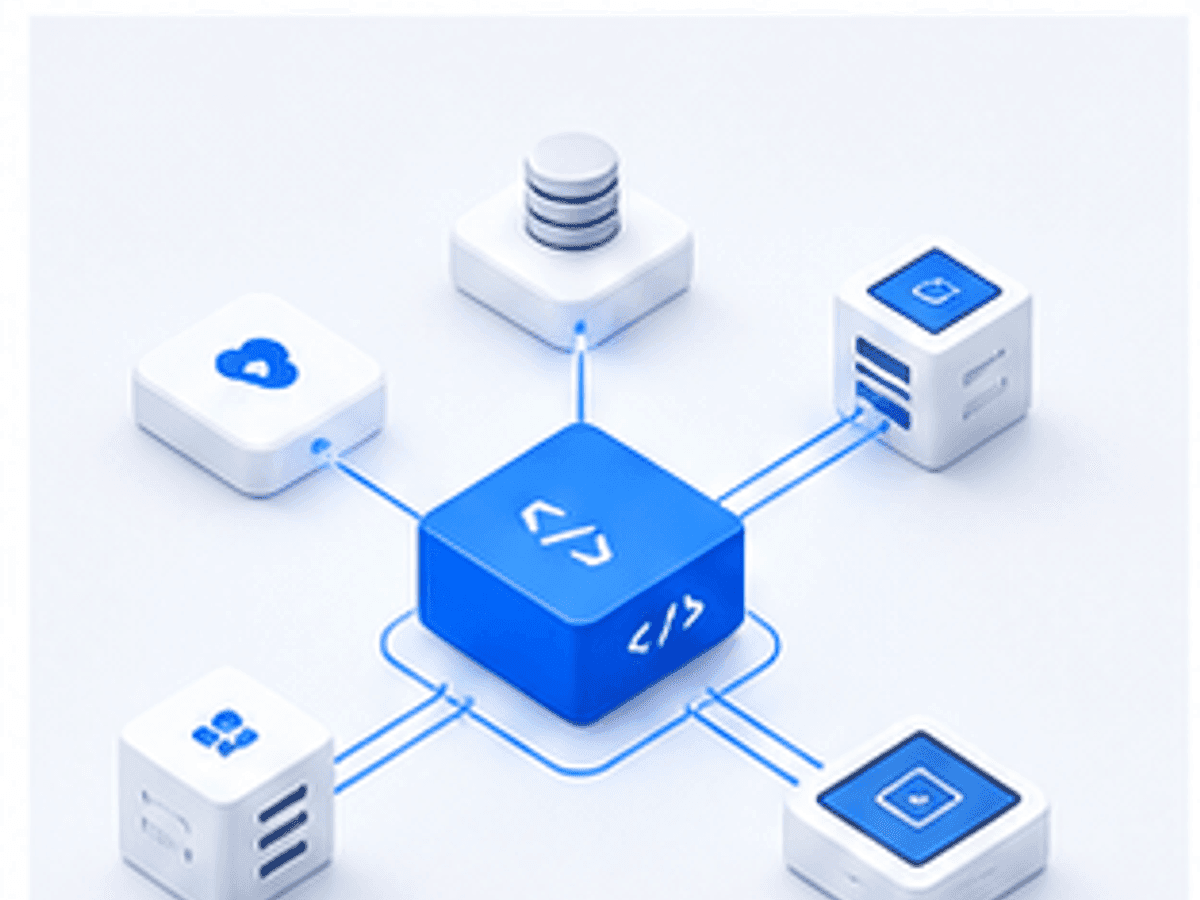
Knowledge is processed into searchable chunks and retrieved automatically for each question. You do not need to tune chunk relevance or context selection manually.
- Open the bot’s Knowledge tabChoose Add source and select the source type that stays easiest to maintain.
- Upload a fileSupported uploads include PDF, DOCX, CSV, TSV, Excel, XML, JSON, TXT and Markdown, up to 10 MB. Prefer clean, searchable source files with meaningful headings.
- Add a URL or feedWeb pages, XML sitemaps and RSS/Atom feeds are supported. URL-based sources refresh daily, so use them for content that changes on your website.
- Paste text for short, stable materialUse pasted text for concise FAQs, escalation notes or temporary guidance. Give it a recognisable name.
- Share only when appropriateEnable “Share with workspace” when one maintained source should be available to all current workspace bots.
Quality
Test answers before a visitor depends on them.
The Chat tab gives you a direct conversation with the bot. Prompt tests provide a repeatable place to evaluate known questions after changes to the prompt, model, source or tools.
- Create a small test setInclude common questions, wording variants, questions that should escalate, and questions where the assistant must say it does not know.
- Check evidence, not just phrasingConfirm that every policy detail originates from an up-to-date source and that cited knowledge is relevant.
- Test the handoff boundaryAsk for a human, use escalation keywords and try an after-hours scenario to ensure the visitor sees the right next action.
- Re-test after every material changeModel changes, new sources and instruction edits can all change output. Keep the same core questions for comparison.
Launch
Embed a branded assistant on any website.
The standard widget is a small script that loads a floating iframe. It does not expose a workspace API key. Configure the assistant’s public name, icon, language, tone and message copy in the bot’s Appearance area before copying the snippet.
<script
  src="https://www.corthex.app/widget.js"
  data-bot-id="YOUR_BOT_ID"
  data-accent-color="#3A82FF"
></script>
Embed options
| Attribute | Purpose |
|---|---|
| data-bot-id | Required UUID of the bot to display. |
| data-accent-color | Optional launcher theme colour. |
| data-locale | Optional locale override for widget labels. |
| data-button-position | Use left or right; right is the default. |
| data-open | Set to true to start with the launcher open. |
| data-default-view | Choose home, messages, help, news or chat. |
| data-embed-mode: inline | Render in a designated container instead of showing the floating launcher. |
For custom controls, use data-trigger-selector or data-button-selector. For inline placement, set data-inline-selector (or data-container-selector). Session continuity uses browser storage and follows the configured session timeout.
Open chat from a link
Add #corthex-open-chat to a page URL that has the Corthex widget installed to open Chat immediately. This works for the hosted widget, inline embeds, and native PrestaShop or WooCommerce widgets, including when a visitor changes the hash without reloading the page.
<a href="#corthex-open-chat">Chat with us</a>
Brand & activate
Make the widget feel native to your website.
Appearance controls the public face of one bot. It is separate from the workspace UI language, so teams can work in their preferred language while a customer sees a localised assistant.
Set the display name, an uploaded PNG/JPG/WebP/GIF icon, accent colour, tone and 12/24-hour timestamps. Empty display names fall back to the internal bot name.
Customise staff-CTA, handoff-form, validation, offline, presence, pause/resume and message-input text. Empty fields use the selected locale defaults.
Choose launcher, placement, initial view, colours, avatar and session behaviour; use the preview before publishing.
Configure the delayed welcome prompt, CTA, online badge and avatar. Keep it useful and conservative so it does not interrupt reading.
Targeted chat triggers
Create targeted prompts when a visitor matches the configured behaviour. Use page, visit and visitor conditions to keep a prompt relevant, and test every trigger on the intended page. Triggers are optional: an empty trigger list means none are active.
Human support
Take over a chat—and resume the bot when the work is done.
Staff handoff lets visitors ask for a person and gives your team a live workspace to answer them. When a staff member takes control, the AI response is paused for that conversation so customers never receive competing replies.
- Enable the workflowTurn on Staff Console takeover in Experimental settings when you want the visitor-facing CTA/form and automatic routing. A manual take-over from Staff Console always overrides this setting for the current conversation.
- Define when a human should helpIn the bot editor, create rules for intents, sentiment, custom keywords, minimum message length and business-hour-only handling. Configure the CTA, immediate form opening, priority and internal tag.
- Be availableStaff set their presence and profile in the Staff Console. Visitors see availability messaging based on configured staff state and the bot’s custom text.
- Take over in Staff ConsoleOpen the session, review the history and visitor context, then take over. The conversation now belongs to the staff member and the bot stops answering.
- Resume deliberatelyWhen the human work is complete, use Resume in the session. The bot’s normal response path returns and the visitor sees the configured resume notice.
Operations
Turn conversations into follow-up, not lost context.
Bot conversations give you the message history and operational context. The Staff Console adds active visitor sessions, online presence, an inbox view, contact context, a visitor timeline, quick replies and suggested replies. Pinned priority sessions also show who pinned them, so teammates can recognise the owner of that decision at a glance.
- Conversations
Review a bot’s history, individual session and conversation insights. - Contacts
Browse known contact records and their conversation context. - Leads
Capture visitor details and export qualifying leads for follow-up. - Quick replies
Keep repeatable staff responses consistent while a person is handling a chat.
Content operations
Create and review the content that supports your assistants.
The Content workspace is a collaborative place for documents and editorial work. It complements Knowledge: use it to draft and maintain content, then deploy the approved result to the appropriate bot or knowledge flow.
- Create or open a documentUse the workspace overview to start a document and navigate its collection. The editor keeps the working content focused while the sidebar gives access to related documents and workspace navigation.
- Write with live collaborationPresence indicators show who is active in a document. If a simultaneous edit creates a conflict, resolve it in the version-conflict dialog instead of overwriting another editor’s work.
- Ask for suggestions or reviewUse the editor’s suggestion and review tools to improve the selected content. Review proposals before accepting them; generated text should still be checked against your approved business facts.
- Use news intentionallyWorkspace News lets a team prepare content for the widget’s news-oriented experience. Keep time-sensitive updates clear and remove them when they expire.
- Deploy or exportUse the deployment panel when content is ready for a bot, or export a document when it needs to move to another workflow.
Improve
Measure what visitors ask and where the assistant needs help.
Workspace Analytics gives a cross-bot view; each bot has an analytics page for its own activity. Use the dashboard to see volume and patterns, then inspect a conversation before changing the knowledge or prompt.
- Start with the trendCheck overall volume and the time range so you can distinguish a genuine quality issue from a temporary traffic change.
- Find recurring gapsUse conversation insights and message context to identify questions the assistant could not ground well.
- Improve the right layerAdd or update knowledge for missing facts, adjust the prompt for behaviour, or add a handoff rule for requests that should always go to a person.
- Export when neededUse the analytics export endpoint for reporting or deeper analysis outside Corthex.
Connect
Connect the systems that make answers useful.
Connections are managed from Settings and per-bot Integrations/Commerce areas. Only connect a system when the bot needs it; static policy information usually belongs in Knowledge, while operational information belongs in a live connection.
- Slack. Install the workspace integration, complete the callback flow, and configure event delivery so the right team can be notified of support activity.
- Instagram Direct and WhatsApp Business. In Settings → Messaging channels, connect and verify an account for each assistant. For a new Instagram connection, the Meta setup automatically handles a different signed inbound recipient ID without manually changing the login sender ID. Verified new connections start with Live delivery on; turn it off to pause inbound channel processing while preserving the connection and existing conversations.
- WooCommerce and PrestaShop. Connect a store through its supported connection flow, then enable commerce actions only after you verify product, cart, order and navigation behaviour in test mode.
- Custom commerce connection. Add a connection in the dashboard for a supported custom workflow, then assign it to the relevant bot.
- WordPress / PrestaShop plugins. Use the plugin connection endpoint and generated configuration to place the same Corthex widget in the platform.
Administration
Manage the workspace safely as it grows.
Settings are workspace-scoped. Use them to control people, billing, external connections, API keys and outbound event notifications.
| Area | Use it for |
|---|---|
| Members | Organisation access and team membership. |
| Billing | Subscription, seat and usage management through Stripe. |
| Connections | External applications and commerce providers. |
| API keys | Developer access tokens. Copy a new key immediately—its plaintext value is only shown once. |
| Webhooks | Signed outbound event delivery with retry visibility. |
Reliable integrations
Send events out safely and keep organisation data isolated.
Webhook endpoints are configured at the workspace level. Use them to notify your own system about supported activity without repeatedly polling Corthex. Review delivery history when an endpoint is unavailable and fix the receiver before expecting new events to succeed.
- Create an endpointGo to Settings → Webhooks, add the HTTPS receiver URL and choose the events your system needs.
- Verify the receiverValidate incoming requests in your application before performing irreversible work. Record the event identifier so duplicate deliveries can be handled idempotently.
- Monitor deliveryUse the endpoint and delivery list to inspect failures and retries. A successful response from your receiver should be fast; queue slow downstream work separately.
- Rotate access deliberatelyRevoke obsolete API keys and remove endpoints that no longer serve a live integration.
Every data record is organisation-scoped. Application transactions and database row-level security both enforce this boundary.
The widget uses public embed endpoints for visitor interaction. Keep workspace API keys out of browser code and use the script embed rather than exposing a server token.
Store keys and webhook signing secrets in your server-side secret manager. Never paste them into a client bundle, public repository or support ticket.
Use only the contact and conversation data necessary for the requested support flow, and configure the widget copy to be transparent about human follow-up.
Developer API
Integrate bots and streaming chat with the public REST API.
The developer API is scoped to the organisation that owns the API key. All requests use HTTPS, JSON request bodies where applicable, and a Bearer token. API access requires a plan that includes it.
Authentication
Create a key under Settings → API Keys, copy it once, and send it in every request:
Authorization: Bearer ctx_your_api_keyEndpoints
Chat request fields
| Field | Required | Meaning |
|---|---|---|
| botId | Yes | UUID of an active bot in the authenticated organisation. |
| messages | Yes | One or more user, assistant or system messages with non-empty text. |
| conversationId | No | UUID to continue an existing conversation; omitted creates a new one. |
| attachmentIds | No | Up to 10 uploaded attachment UUIDs. |
Responses, limits and errors
The chat endpoint streams a UI message response. Requests are rate limited per API key; the chat API is limited to 60 requests per minute and also reserves model-weighted usage credits. Handle 429 with backoff, never with an immediate retry loop.
Help
Solve the most common setup problems.
The bot gives weak or invented answers.
The widget does not show.
The bot is silent in a conversation.
A source is not usable yet.
An API request returns 401 or 404.
The assistant is still paused after staff support.
Ready to set up your first assistant?
Start with a focused bot and a small, verified knowledge base. You can add channels, staff automation and developer integration as your workflow grows.